Weapons - Sword Tutorials
(Toy Sword)
(see lower for metal sword tutorial)
Jack Sparrow Sword Tutorial
"And I half expected it to be made of wood. You are without doubt the worst pirate I've ever heard of..." ~ Norrington
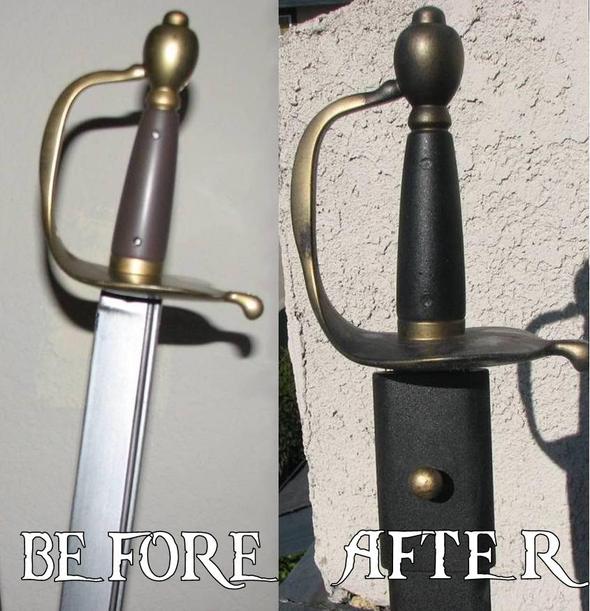
Tutorial by Mojo from brethrencourt.net
- NOTE: I have since purchased an accurate metal sword and no longer wear this toy mod, I have held on to it, in case I am going to a festival or party that does not allow real weapons.**
Jack wears an old rusted cutlass on his left side. A cutlass is a short, broad sabre or slashing sword, with a straight or slightly curved blade sharpened on the cutting edge, and a hilt often featuring a solid cupped or basket shaped guard. This sword is traditionally the sailor's weapon of choice most likely because it was robust enough to hack through heavy ropes, canvas, and wood. It was also short enough to use in relatively close quarters, such as during boarding actions, in the rigging, or below decks. Another advantage to the cutlass was its simplicity of use. The cutlass required less training than the rapier or small sword, and was more effective as a close-combat weapon than the full sized sword. The cutlasses portrayed in pirate films are often anachronistic 19th century weapons.
Getting my Disney Disguise™ Sword and Scabbard [item #18727], this what it looks like straight out of the box.
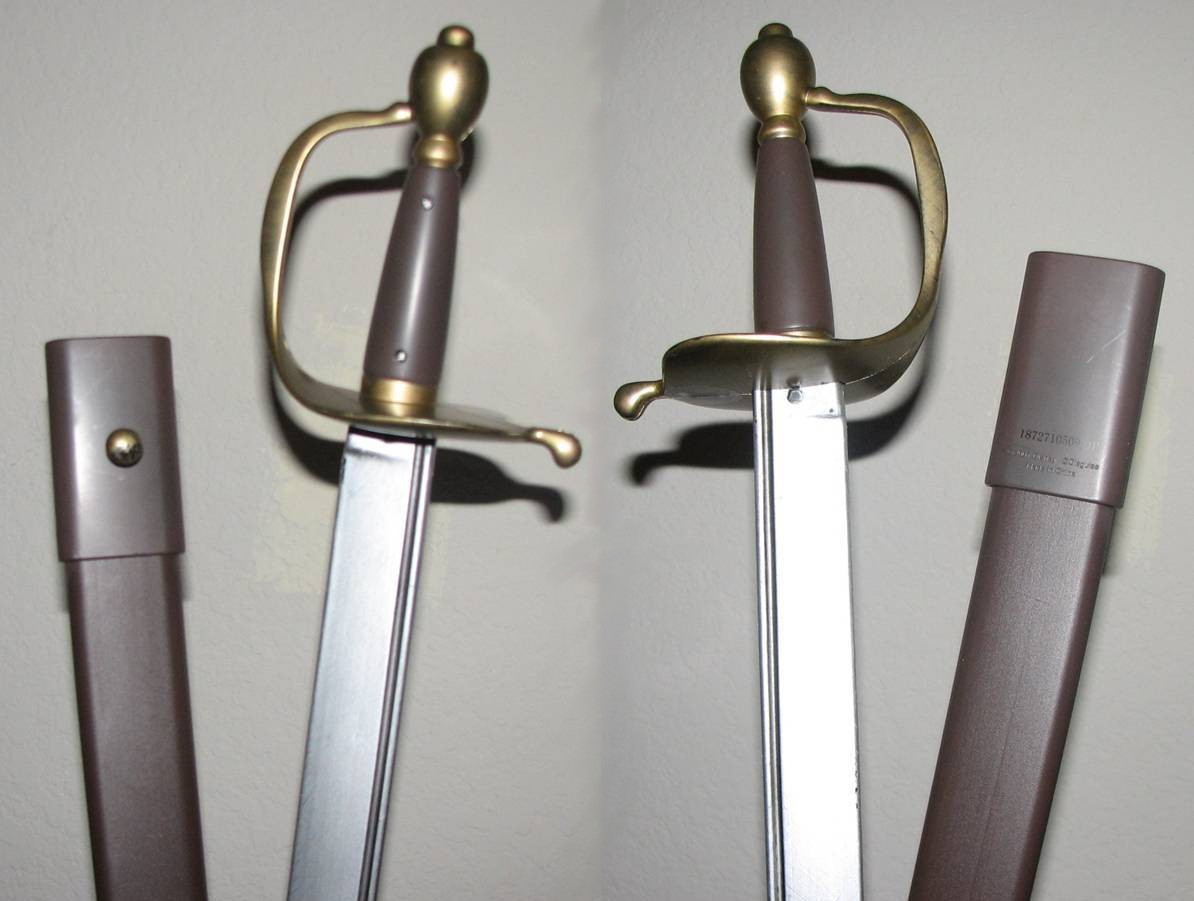
Noticing a few things I will be addressing before I break out the paint and tools:

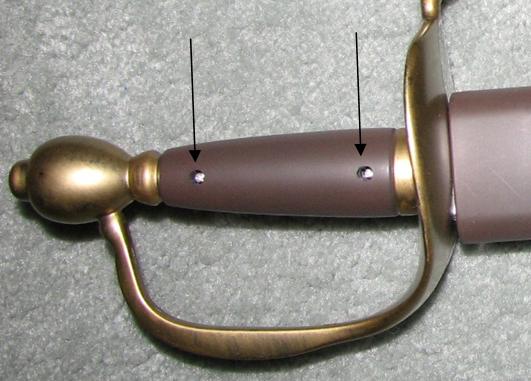
First thing was I took some rough sandpaper and went all over the scabbard to give it a lived-in look.
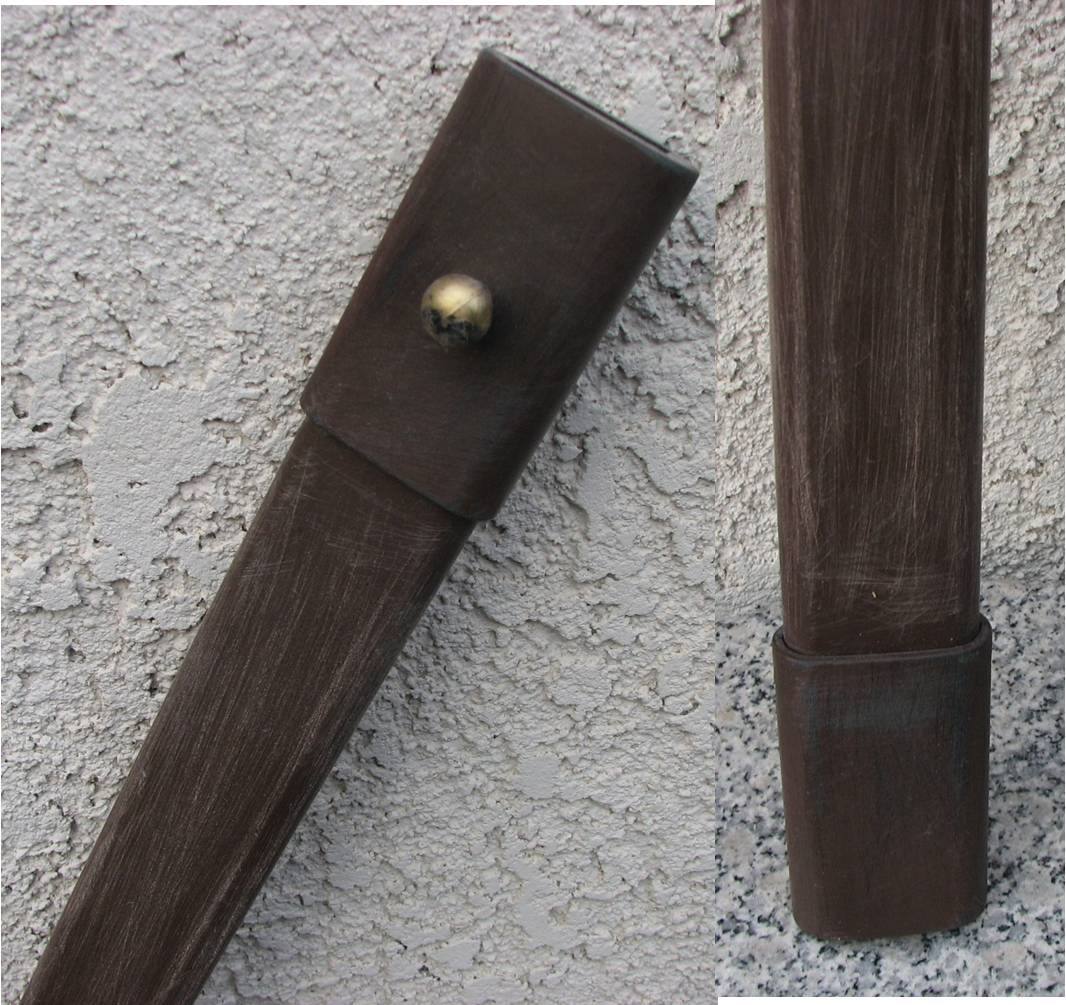
Then, even though I am going to spray the sword blade with some black to darken it up - I actually had to spray it all over with silver, just so that the "toy look" went away. And because a lot of the silver paint had already begun to flake off.
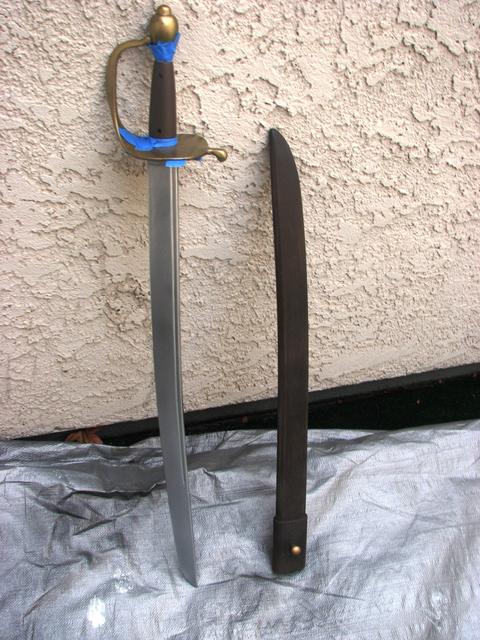
And I had to go back over the scabbard button with my gold paint pen.
I then sprayed all of the painted parts with matte finish just to kind of "lock in" the color - especially the silver blade. I think the action of moving the blade in and out of the scabbard causes the paint to rub off.
Next I used "Mighty Putty" to fill in the holes on the hilt of the sword. I could have used bondo [or any gum substance that will harden over time] but I used what I already had around the house.
I allowed the Mighty Putty to cure for 24 hours and then masked off all of the gold trim on the hilt and sprayed the handle black
Then I removed the tape and went back over the entire sword, but only misting it with the black. This allowed the paint to fall randomly and unevenly creating a distressed aged look. If I had cared more, I would have taped off the black and painted over the gold elements with a darker color. Jack's sword is copper, not gold.
Then after a few passes with the black, I went over the entire thing with the dull coat. And this is what it looks like now:
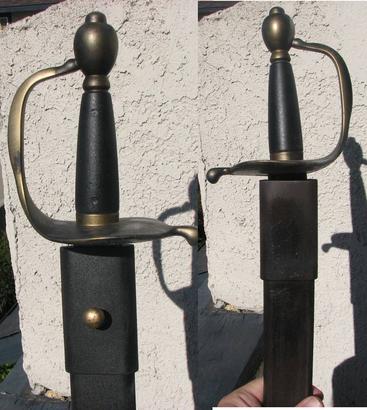
One of the things I noticed was, if you make a pass with the spray paint and it seems to "dry" but you want to correct it. You can spray back over it with wet paint and then quickly rub it off with a paper towel. That is how I created this effect under the hand guard.
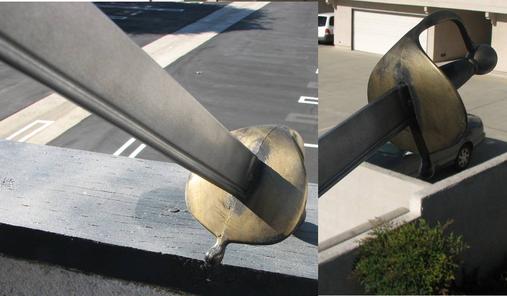
The only thing left that I would like to try and fix is to somehow take the bow out of the handle. It can't really be seen in the scabbard, and I doubt I will draw it out much - but the handle has a sleight bend to it that is opposite of the blade.
Completed Prop:
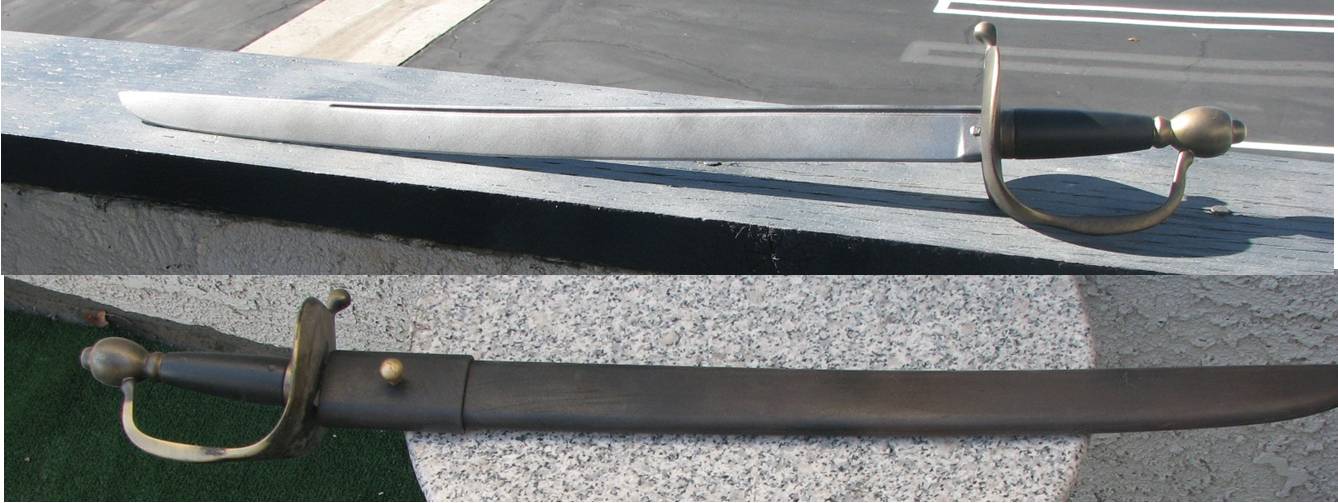
Metal Sword Tutorial
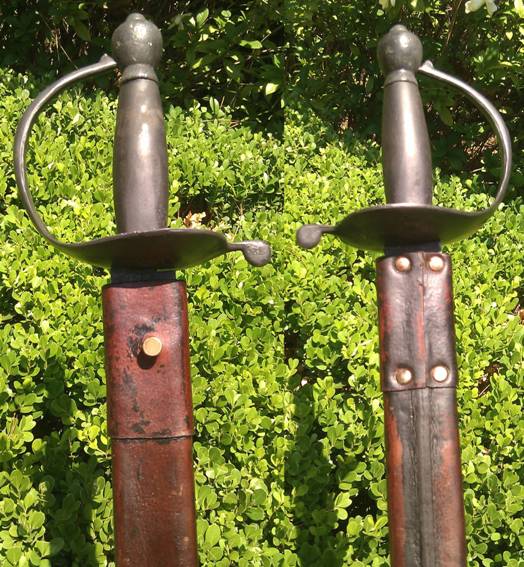
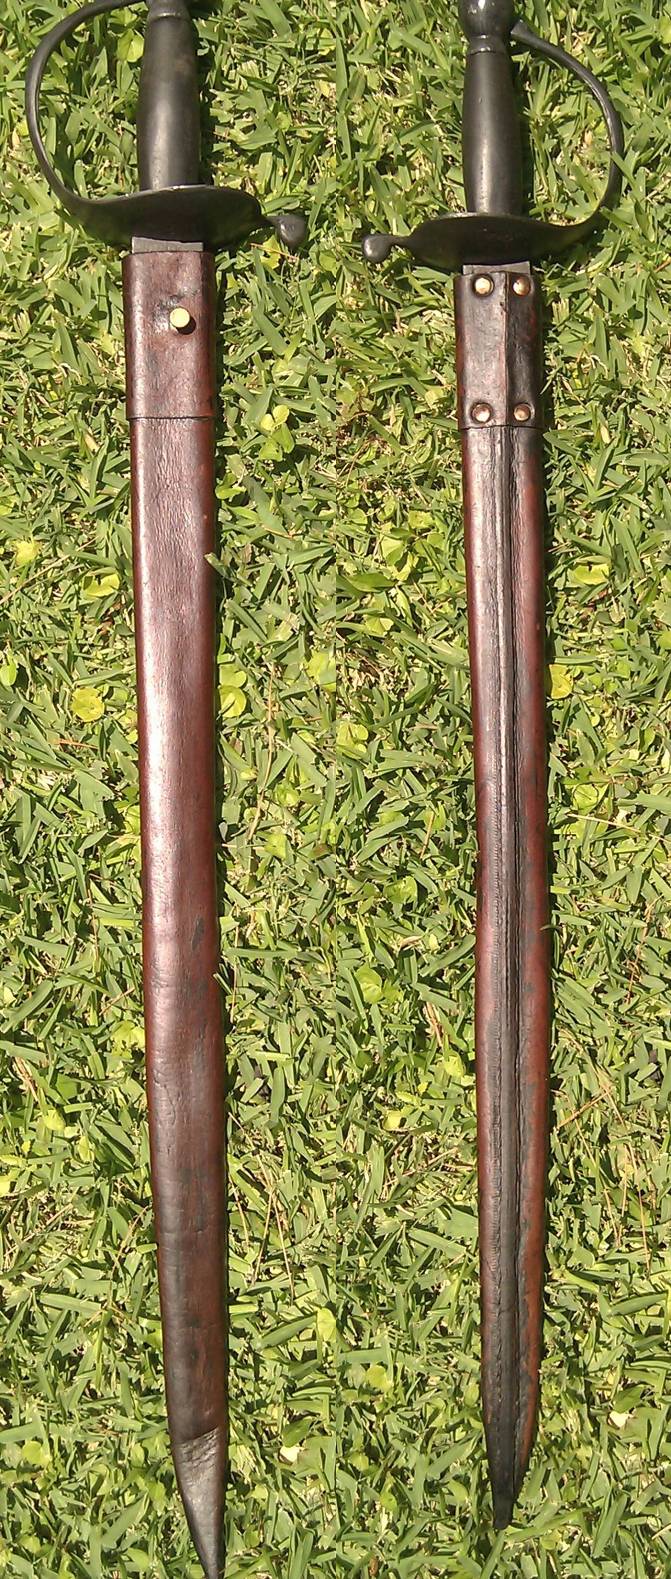
I purchased the Indy Magnoli metal sword (from Pakistan) and it was a limited run, so I don't know if you can still get one. But here are my ref shots of it in comparison with my plastic toy. As I modify it, I will keep this page updated.
Sword
Hilt and Sheath
Plastic Toy Comparison (toy tutorial is at the top of this page)
I don't know what mods I will do to the sword, probably nothing, but the sheath is too black (too dark) so the first thing that I did was rub off the dark dye with a towel and super fine sandpaper. Then I sprayed the whole thing with WD40 to even out the color
Next I went over the whole thing four times with leather finisher and then one final top coat of peanut oil
If you would like to add information or you find dead links to pictures or sites please send an email to the administrators
Venture below for the forum of The Brethren Court!
If you would like to add information or you find dead links to pictures or sites please send an email to the administrators

